

How To Draw A Ww1 Soldier
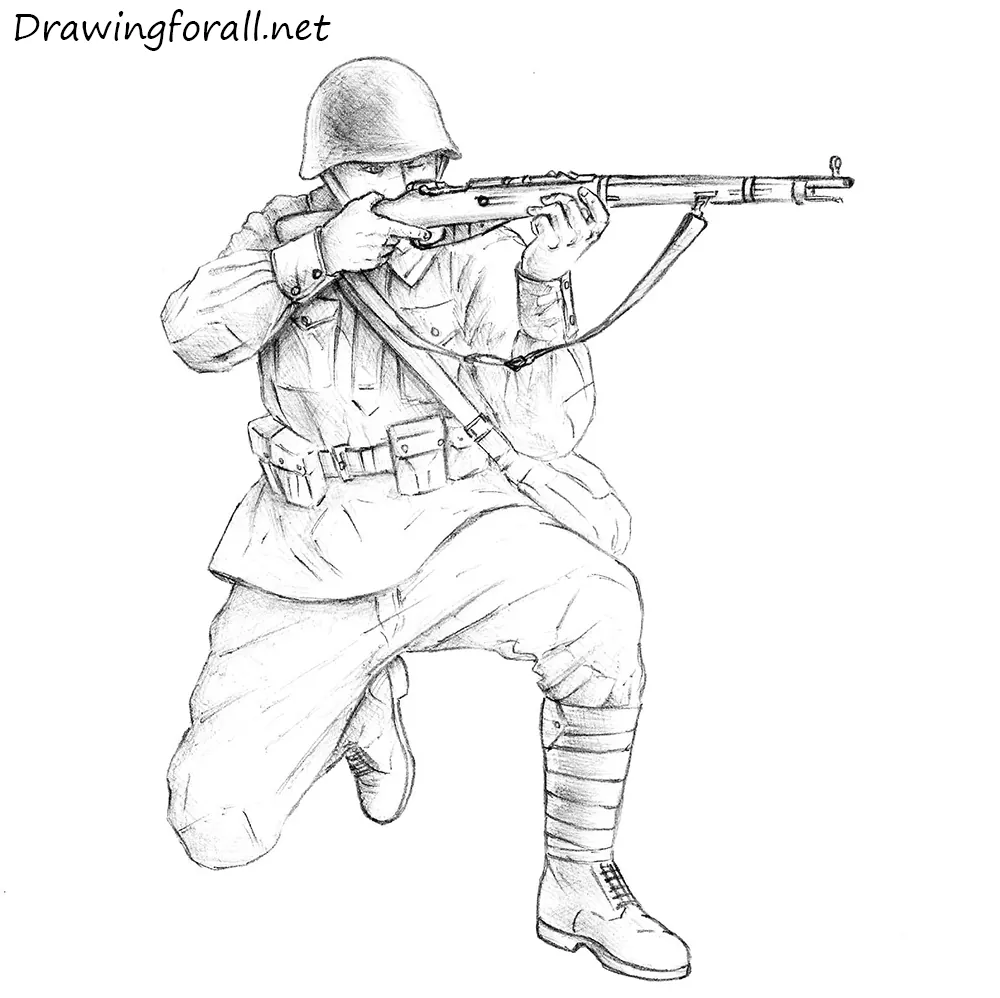
Hello! In today'southward lesson nosotros'll show you how to draw a Soviet soldier.
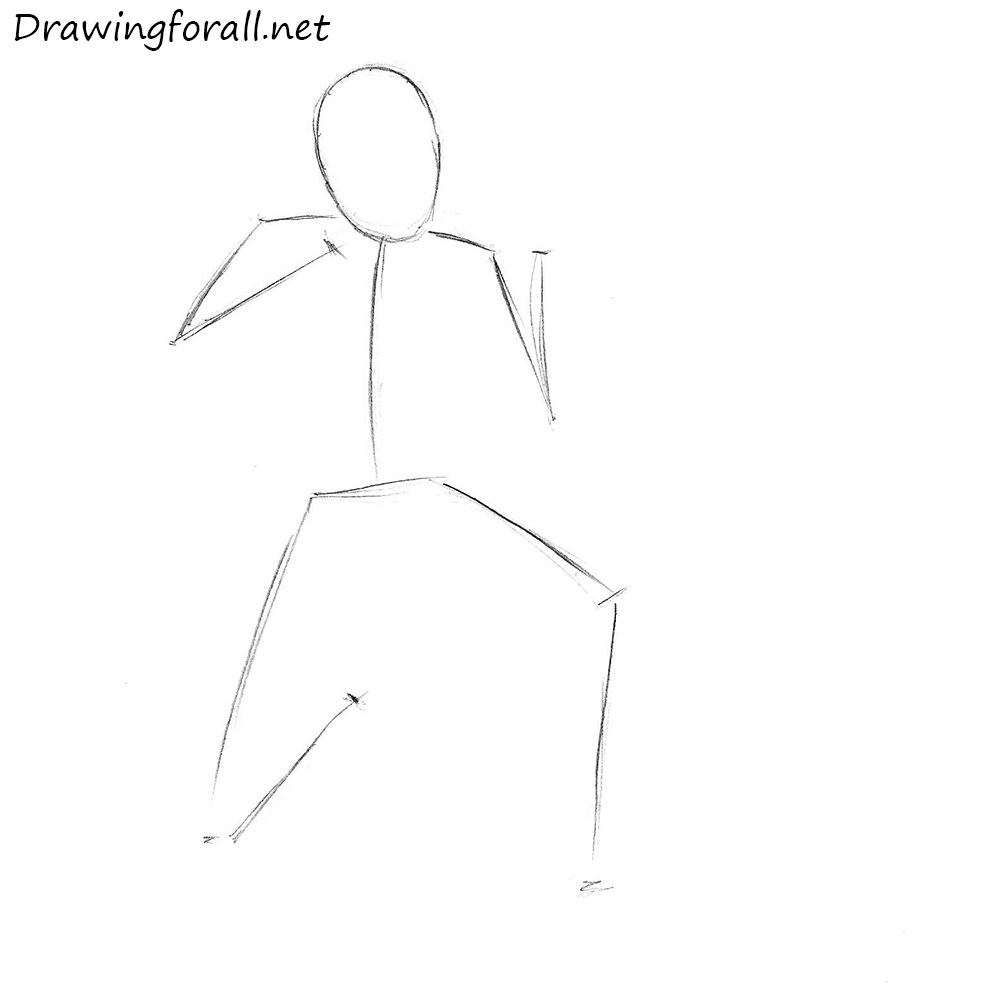
Stride 1
This lesson is quite complicated but we brainstorm to draw with a very uncomplicated stickman – human made of sticks and circles. Earlier you start drawing stickman call up the bones rules of human body proportions:
- height equal to the sum of the lengths of approximately vii heads;
- 3 of them fall on the trunk (from the neck to the waist);
- and four – on legs.
Nonetheless, exist extremely careful at this stage, because the soldier is not worth a full-length (such every bit a doc in 1 of our lessons), and occupies a position only before the shot.
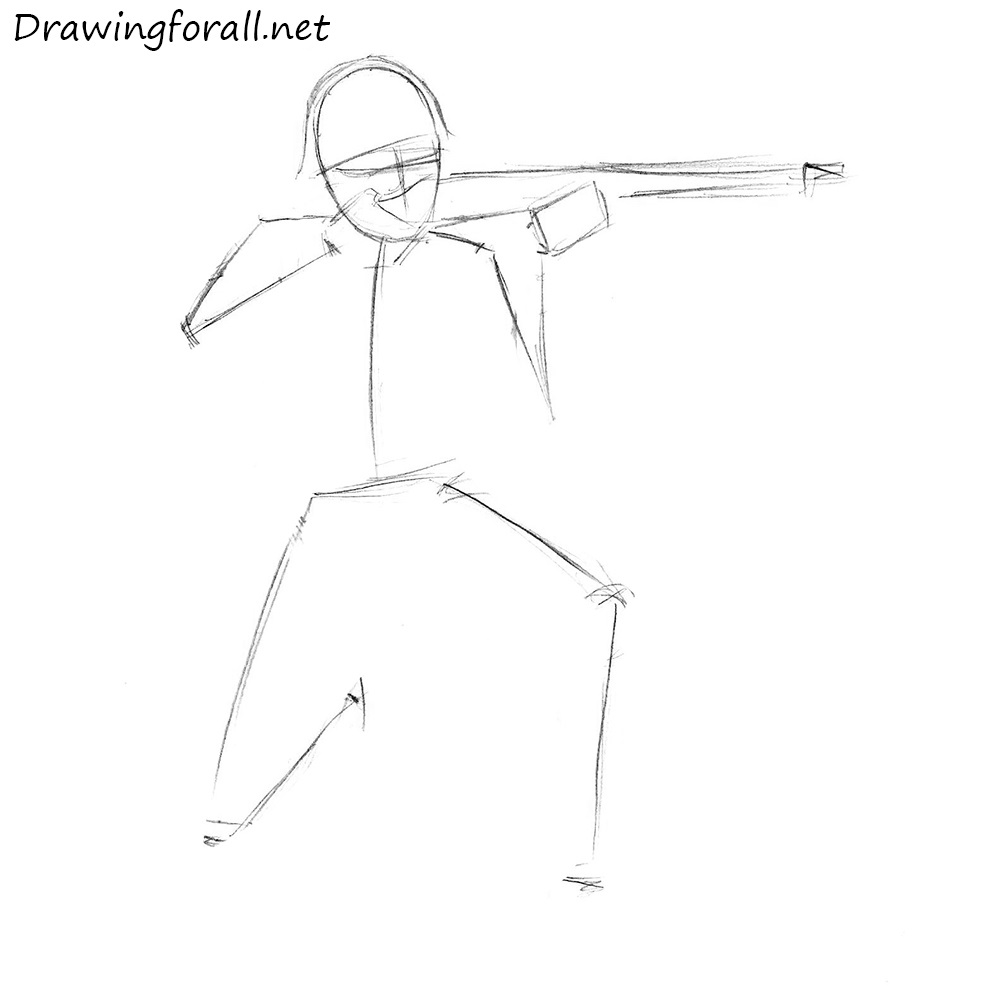
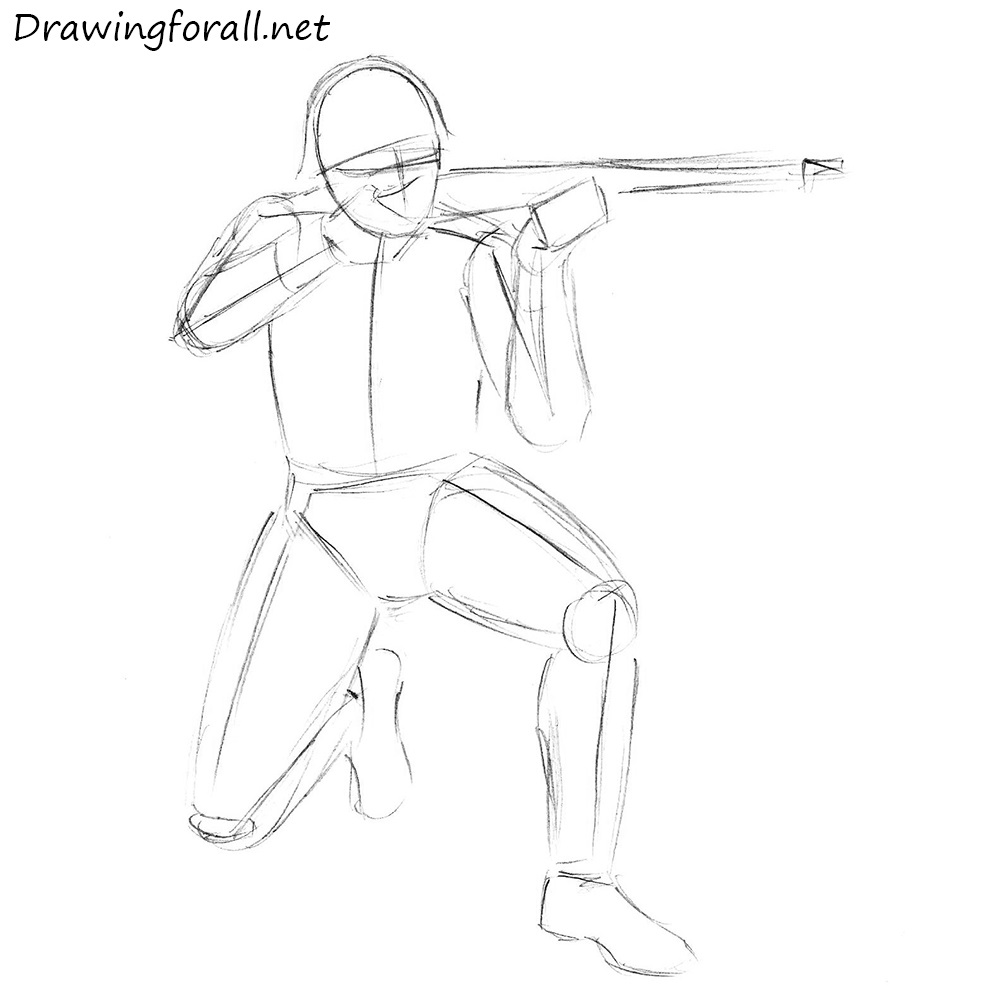
Step two
Now nosotros work a trivial over the top role of the soldier. At the top of the head draw helmets line, marker upwards the rest of the lower function of the two lines – vertical, which will denote the facial symmetry (note, information technology is slightly beveled for transmitting caput tilt) and the horizontal line of the eyes. As well, describe a part of the helmet and sketch out the silhouette of the weapon of a soldier in the hands (the stock should cover the lower role of the confront). Sketch out the rectangular guides for the hands, and motility to the third step.
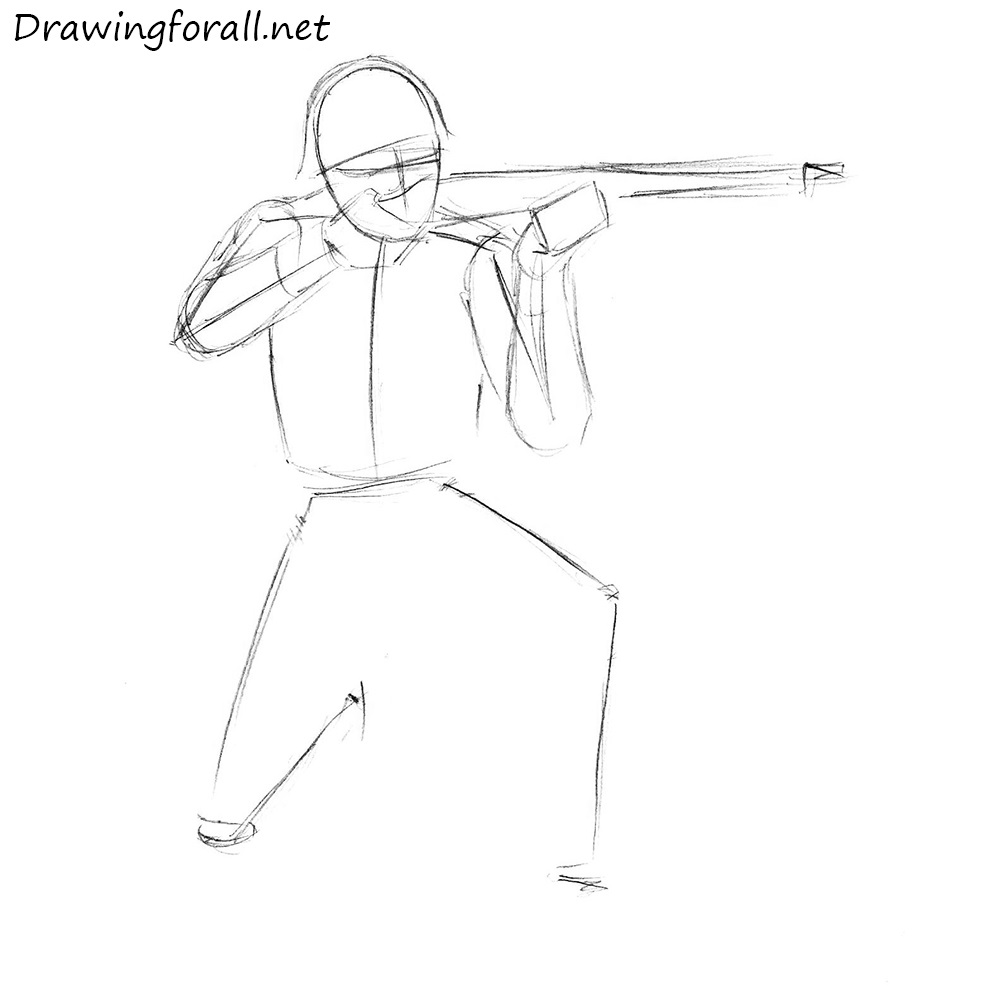
Stride iii
We attach the book to the arms and upper trunk. In fact, at this stage nosotros simply circle previously planned line. Utilise shapes, similar to cylinders to sketch out the arms.
Step four
At present practise the aforementioned functioning with the lower role of the torso. It will exist much easier to implement if you nowadays parts of the body in the form of elementary figures – belt and groin in the course of a triangle, legs – in the form of cylinders, the knee joints in the form of a circle and a flattened oval. Once again, naught fancy, since no anatomical rendering of muscles and tendons from us.
Step 5
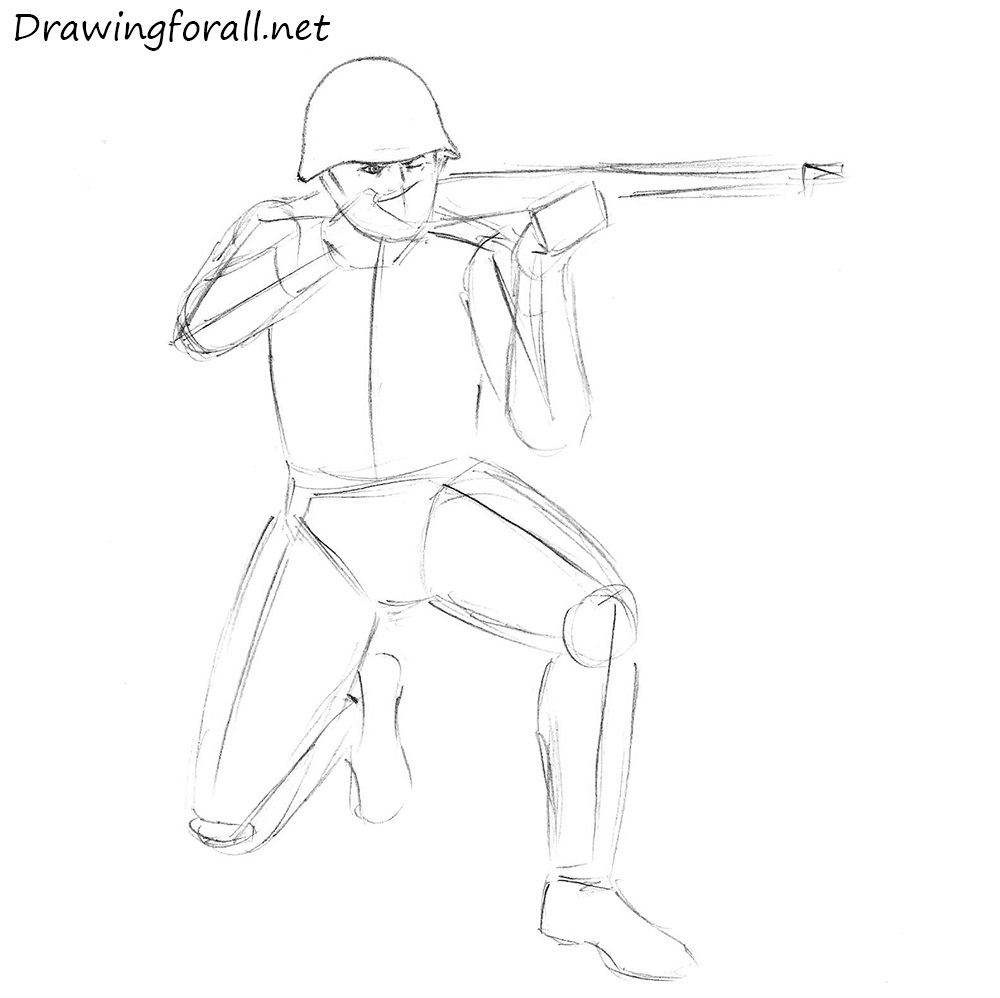
"Volumetric stickman" ie silhouette of the soldier is ready, you tin start calculation details. If in dubiousness virtually the accuracy of the location of the soldier or the proportions of his body, bring a sketch of the phase to the mirror and look at the reflection – in it all the errors will be very catchy and noticeable.
And now, in fact, proceed the drawing lesson on how to draw a soldier of the red army. Delete the extra guidelines from the helmet and circle its contour, also, describe the strap on the soldiers cheekbone. Then draw the optics – one of them must exist narrowed.
Stride half dozen
Permit's start drawing details from the top downward ie, in the direction from the head to the feet. We work on the clothing. Draw the sleeves, outline folds of fabric and cuffs. Then announce strap that goes through all the body diagonally, collar and touches that subsequently go large pockets located on the chest. Using brusk strokes, divide the fingers, as in the example.
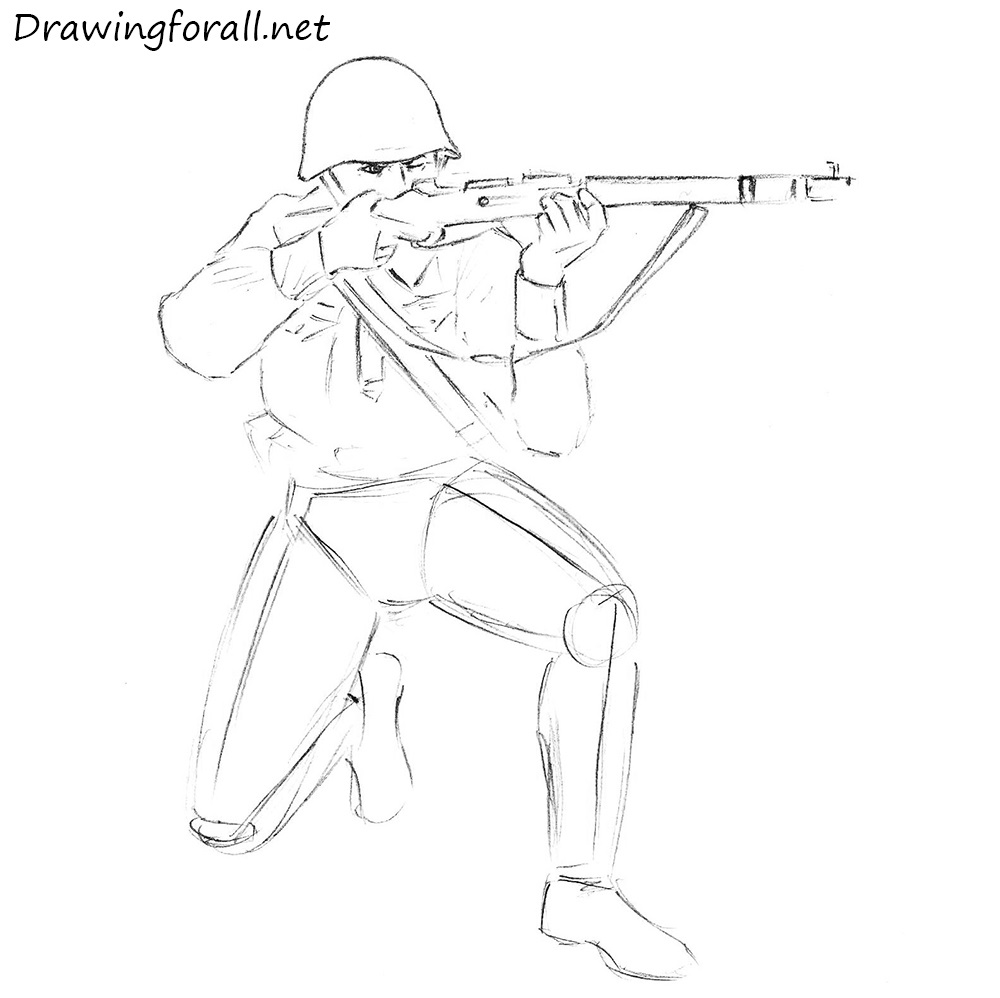
Step 7
Go down below and describe the lower trunk and legs soldier. Starting time, draw the strap and side pockets, and then – a bag and freely lying bottom of the jacket Starting time, draw the strap and side pockets, then – a bag and freely lying bottom of the jacket (notation the smooth curve of the line of Soldier'southward jacket in the surface area closest to our leg, it must signal his posture). Next – the legs. Erase extra guidelines, circle the contours of the leg – do the profile slightly wavy and draw wrinkles on the fabric. Yes, such a feature – the legs should be very voluminous, over again to emphasize the gratis cut pants.
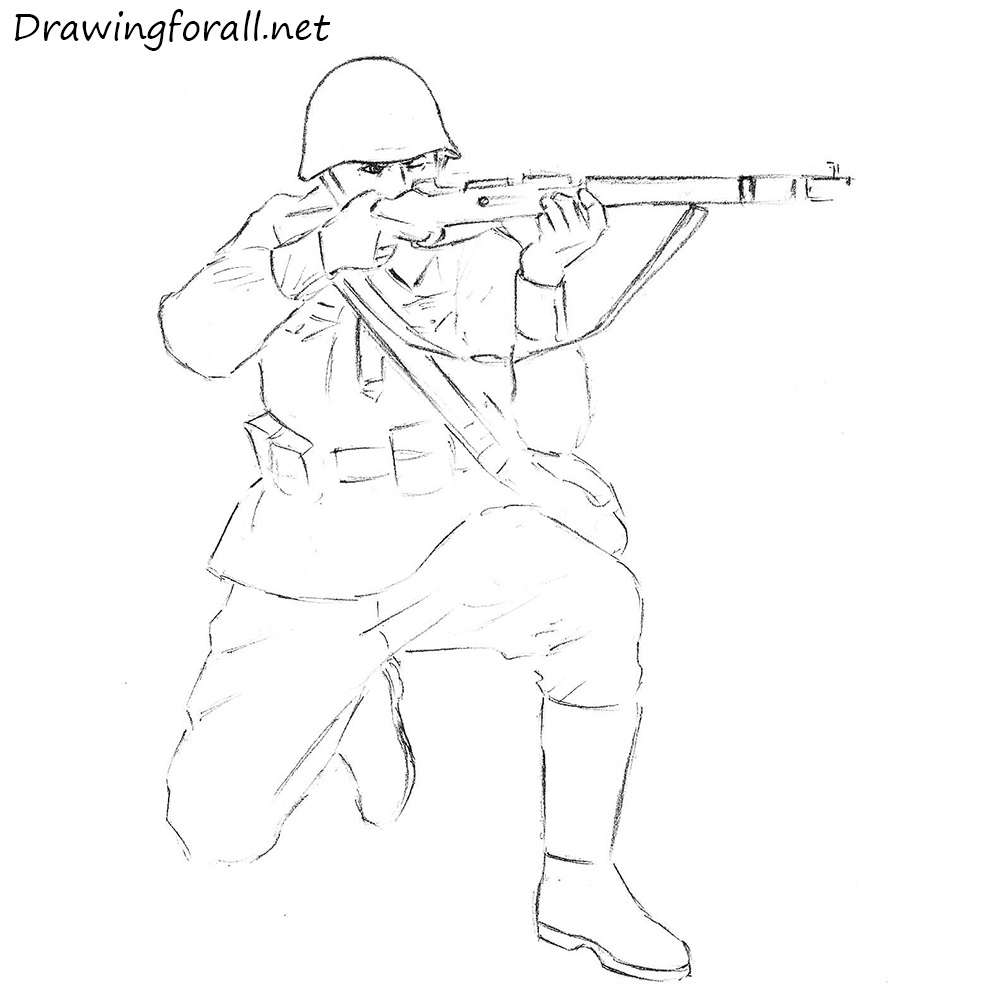
Step 8
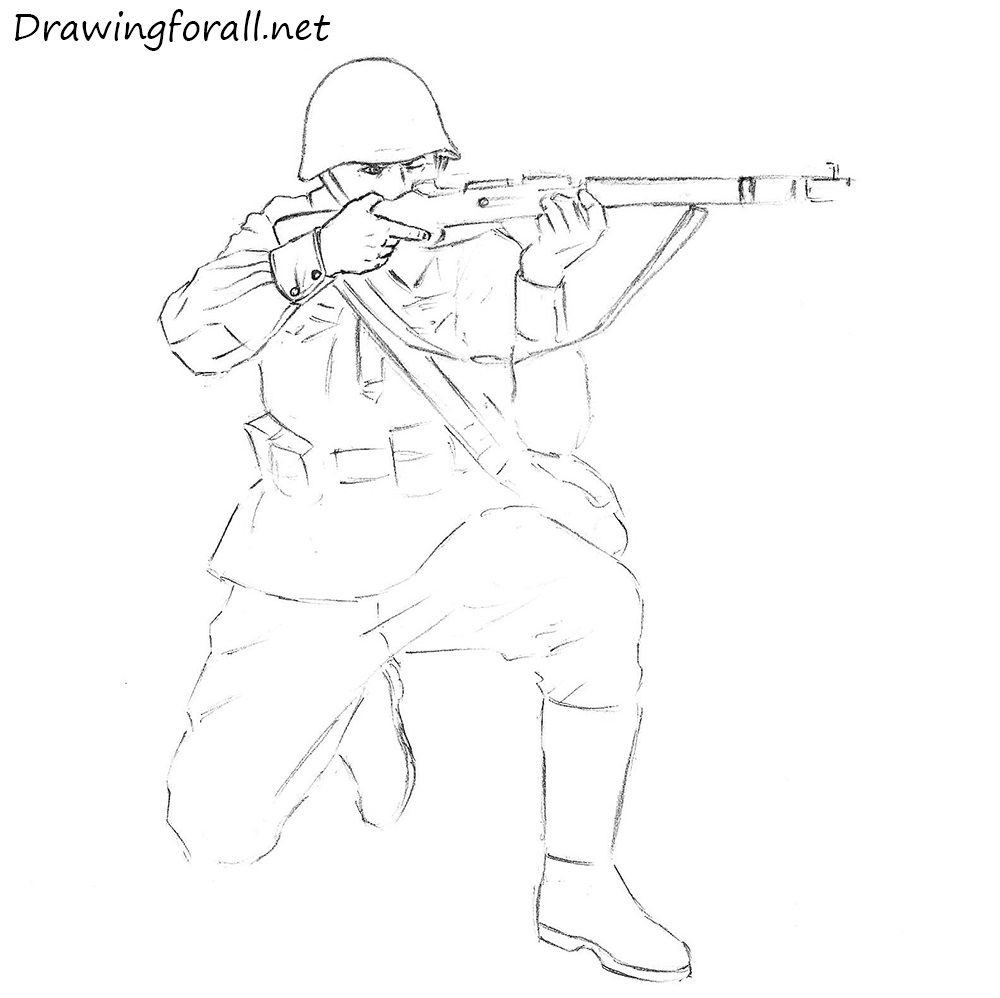
Well, already very close to what we need. Let's add more details to the soldier. At this stage, we thoroughly detail the correct arm the warrior and the edge of the rifle buttstock. Look carefully at our sample and try to repeat our actions in your drawing – always draw such seemingly inconspicuous details like elbow patches, edging collar, buttons and folds. Draw the duke on the outside of the paw.
Pace 9
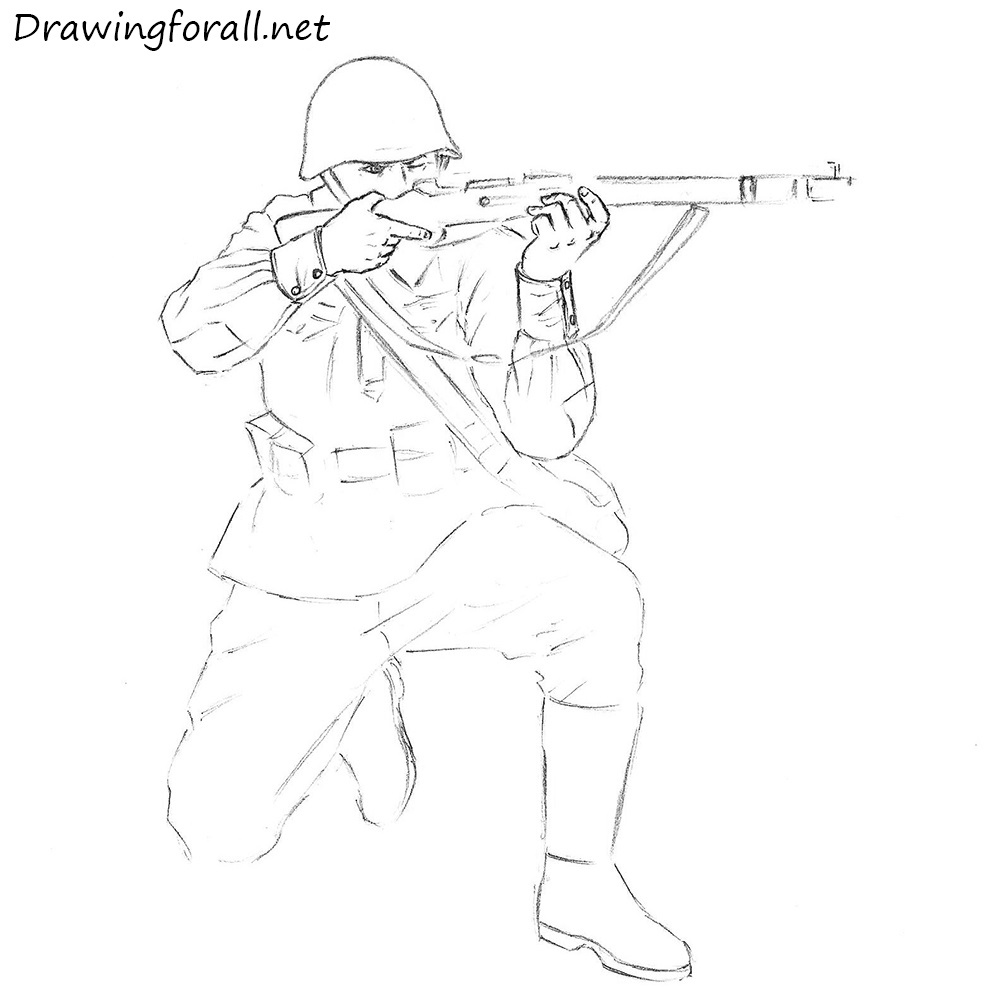
At present repeat the same functioning, just on the other arm. Hither just, in contrast to the previous stage, nosotros tin see nails on the fingers and nosotros will need to designate them. As well, marking the phalanges, merely otherwise all the same – cuffs, buttons, patch in the elbow area and folds.
Stride 10
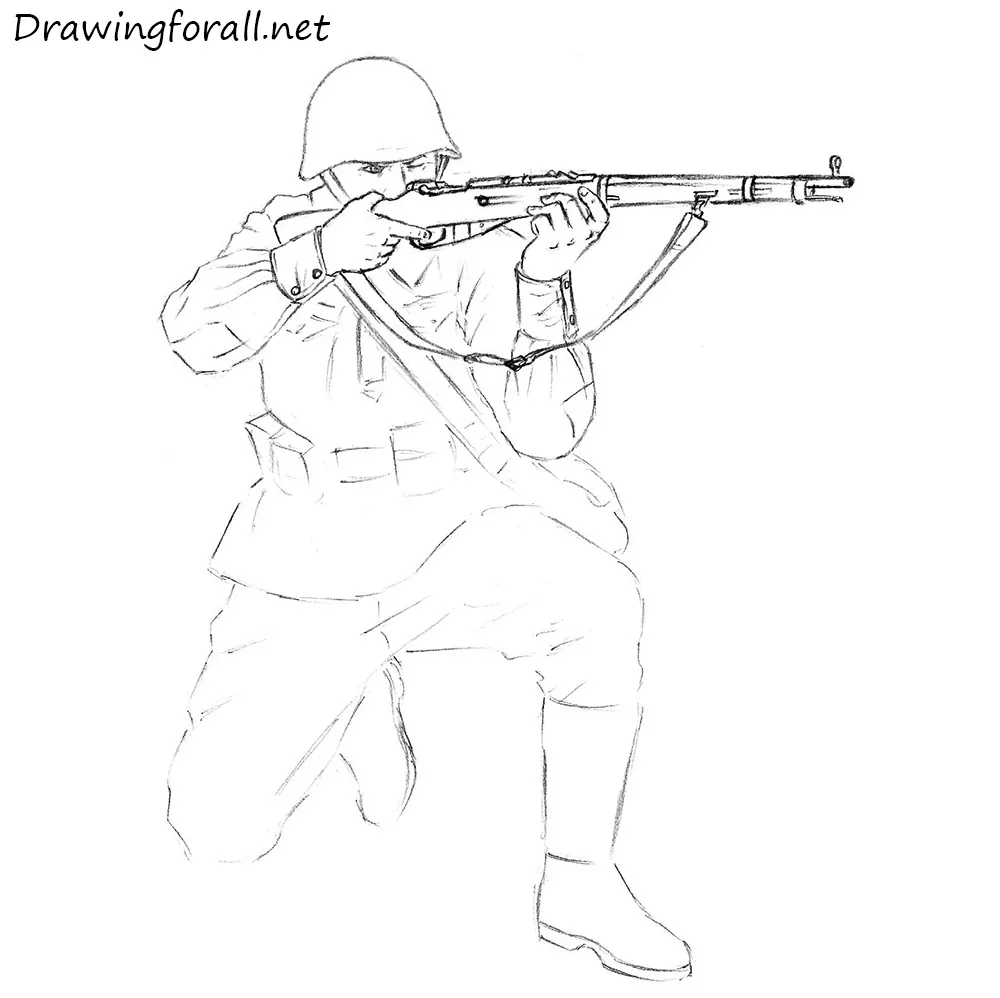
Describe the Mosin rifle. Do not forget that most of the parts of the gun barrel was made of woods, to visually convey the material, draw some lines along the trunk in the front end role. Also, draw the short horizontal lines running across the barrel – the first of them is located virtually the front sight, and the final – in the area of the left hand. Describe sight, trigger and a belt (annotation the belt buckle and inverted position).
Step 11
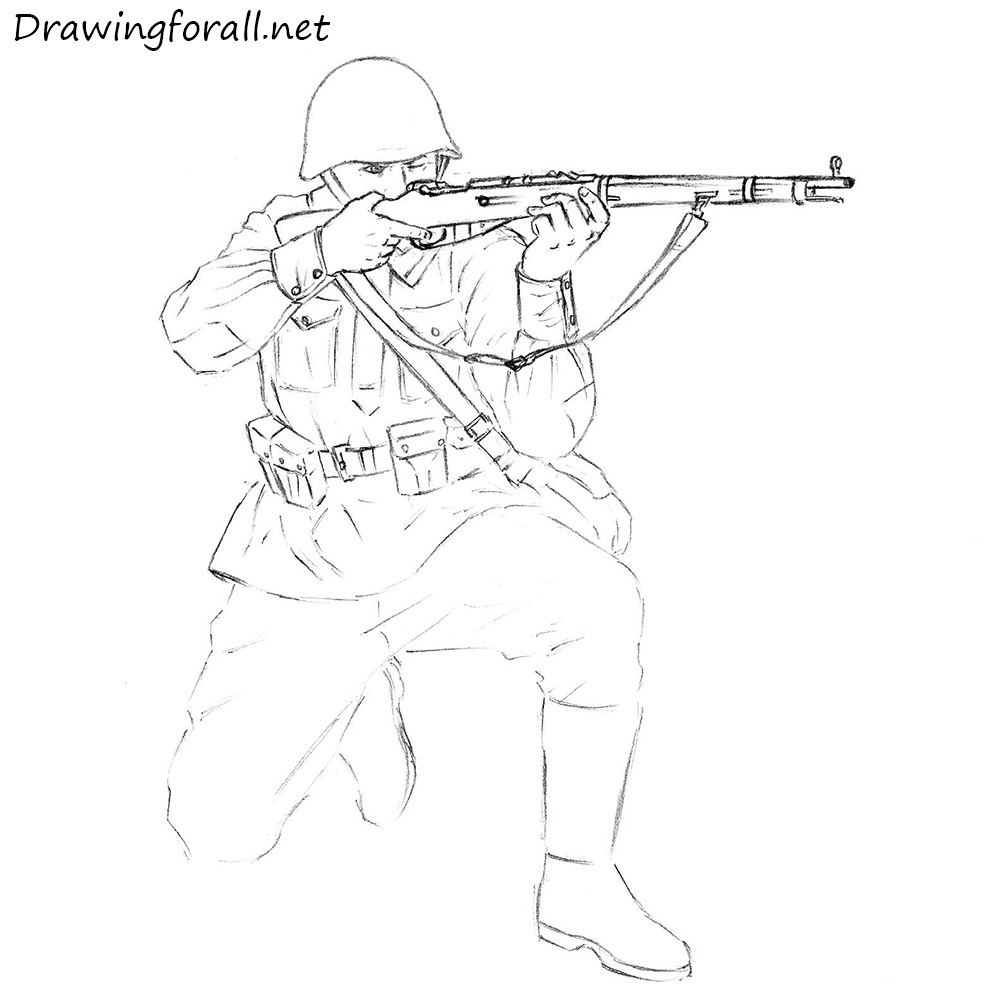
Detailing the torso. Depict stripes on the collar, the horizontal line of fasteners and pockets. Note the frame, which is located at the edges of the pockets and folds running from the belt. Do non forget to describe the pocketbook and chugalug buckle. Next, draw the strap (the one that is located in the belt of a soldier), and belt buckle pockets. Add curt and smooth folds to the bottom of the jacket, as in our example.
Step 12
Describe the legs, start with the right one. Circle information technology, keeping the previously scheduled wavy contour, draw the line of his pants, mark a rectangle in the knee surface area and draw boots on a thick, rough-soled shoes. Add some folds on the kick.
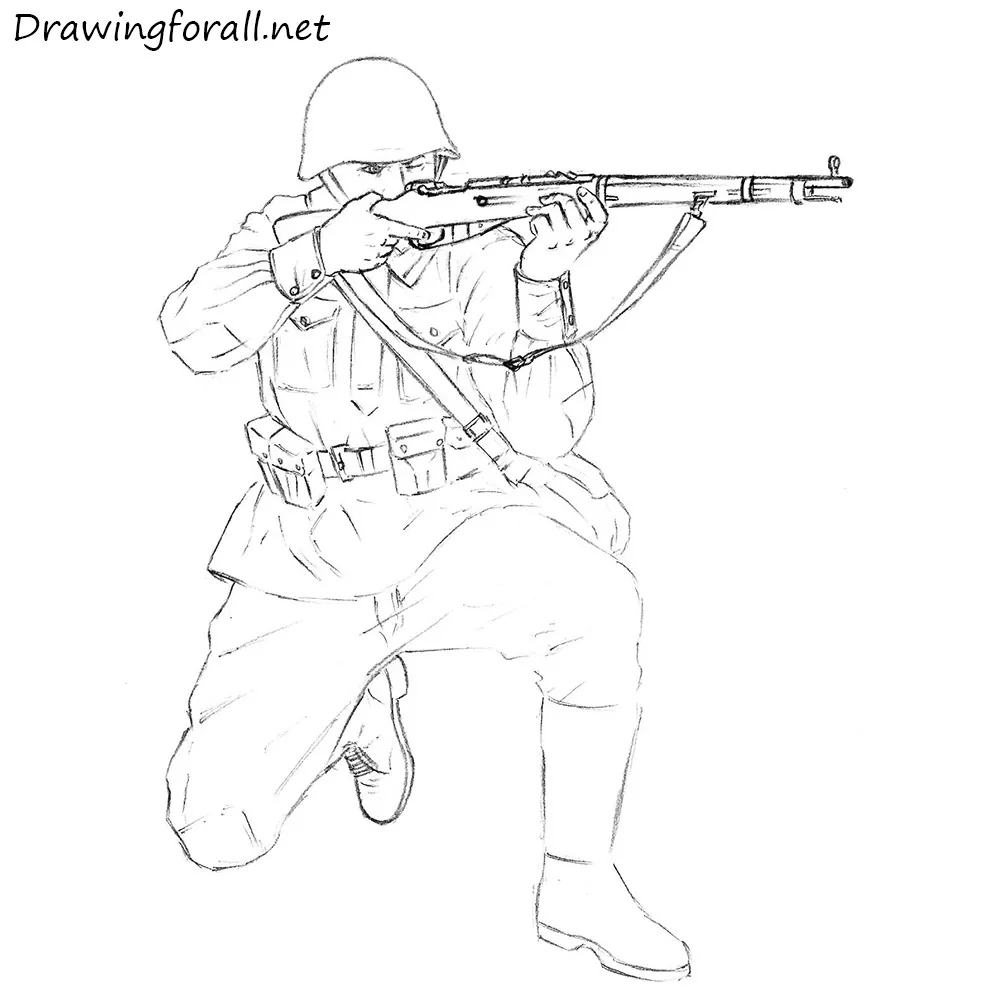
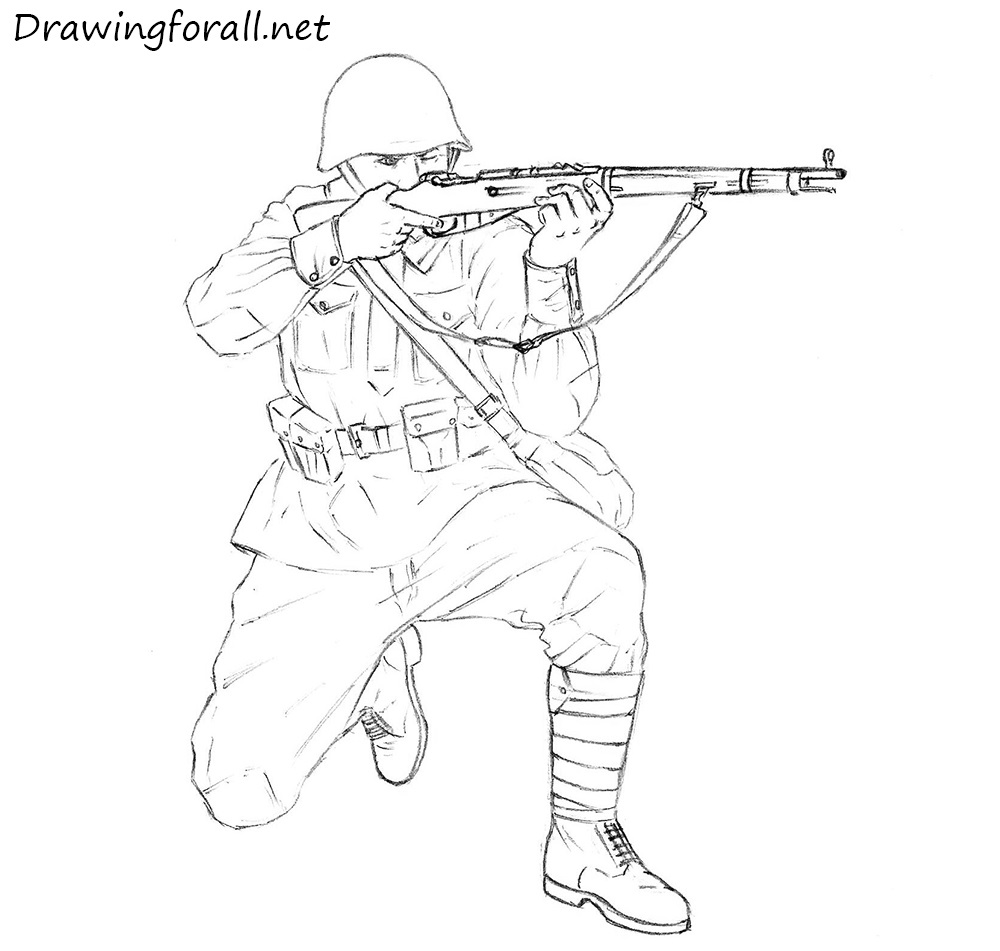
Step 13
Now we detail the other leg. Circle it, mark the folds, describe a strip of cloth in the region of the lower leg. Draw a thick sole of the shoe, draw the lacing and a pair of strokes on the textile of the shoe, which will be denoted by the folds.
Footstep 14
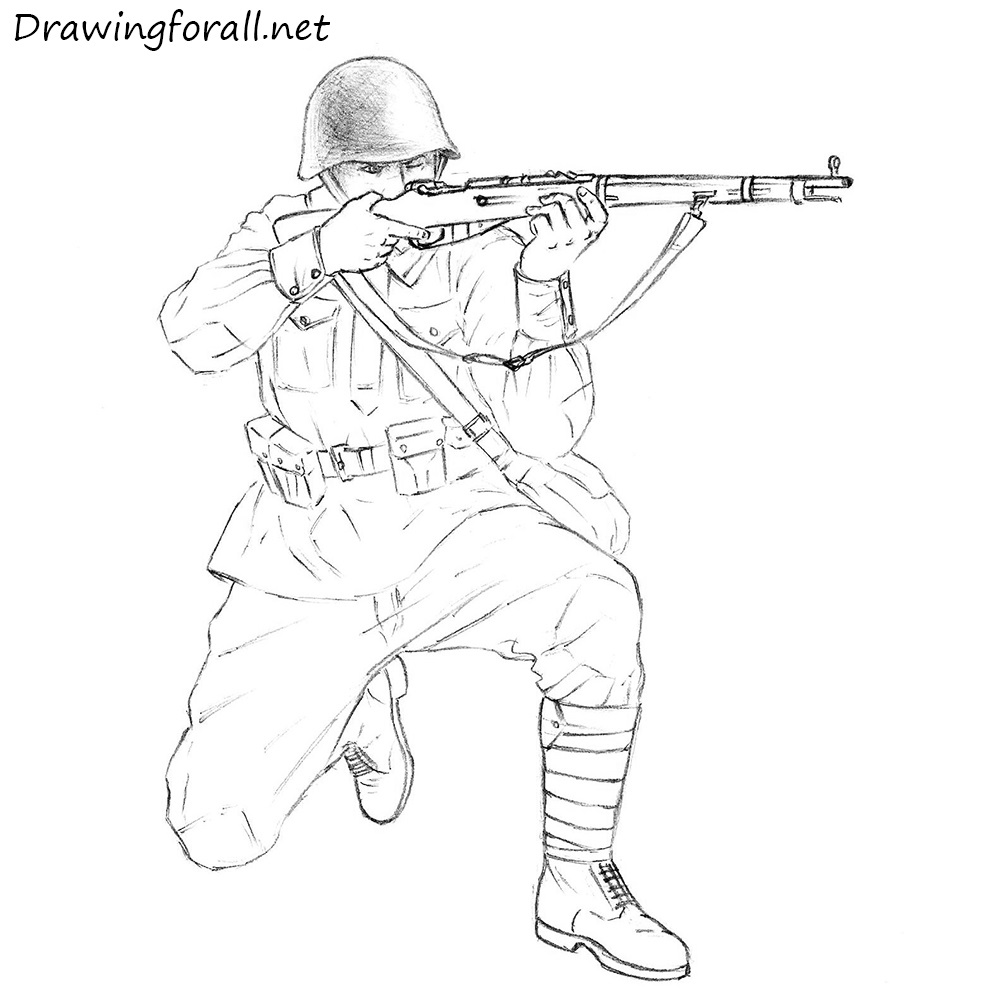
Not bad goes, is not it? Let us now endeavour to add the shadows. First, apply a shadow on our soldier's helmet. Before you beginning, practise non forget to see the 6th stage of the lesson on how to describe grapes – firstly, there is described the construction of realistic shadows, and secondly, a shadow on the bunch of grapes is very similar to a shadow that lies on a soldier's helmet from this lesson.
Earlier applying the shadow, decide the location of the light source – the low-cal falls on the forepart of the soldier, the source is located approximately at the acme of its growth, and comes from the right side of us.
Add shadows using light and smooth hatching. Do not forget to designate a strip of light reflex, which is located on the edges of the helmet.
Stride 15
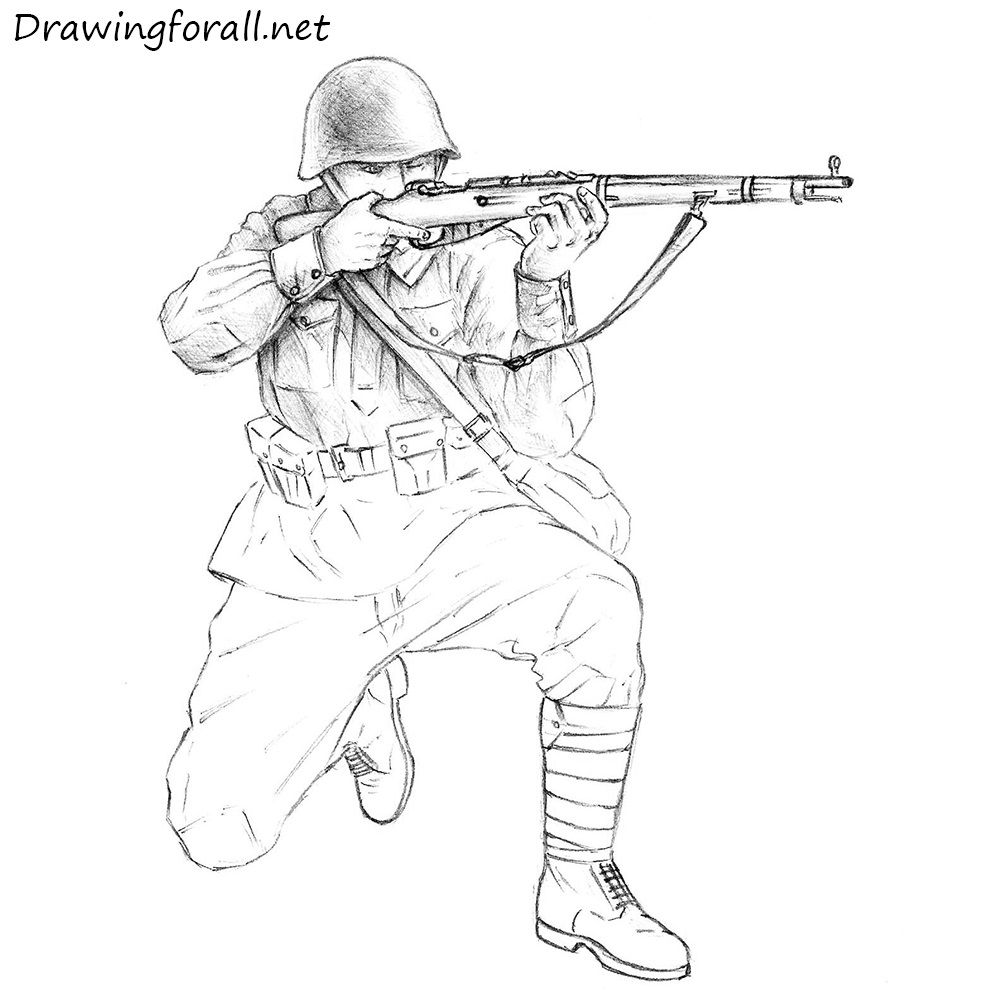
Apply shadow to the right hand. Note that almost every fold drops an easy shade, but in the area of the deltoid and trapezius muscle shadow is peculiarly thick.

Step 16
Using light cross hatching announce the shadows on the body, increasing the number of layers in the near densely shaded areas.
Step 17
Really, it remains to utilise shadow to the legs and our drawing is ready. Add together shadows, every bit in the previous steps – use light and smooth hatching of different layers.
It was a lesson on how to draw a Soviet soldier past Drawingforall.net. Come to us for new lessons and write in comments about your wishes. Goodbye!

Source: https://www.drawingforall.net/how-to-draw-a-soviet-soldier/
Posted by: shawspreorke.blogspot.com
0 Response to "How To Draw A Ww1 Soldier"
Post a Comment